You can define Self Service portal display categories that appear in the list on the Service, Service Action, and Service Bundles Details windows in vFire Core, and when a user browses the Service Catalog in the vFire Self Service portal.
Creating a Portal Display Category
Before you start
You must have CMDB Setup enabled within your General Access Security Role in order to configure any CMDB administration settings. Depending on if/how your system is partitioned, ensure that you are in the correct partition.
-
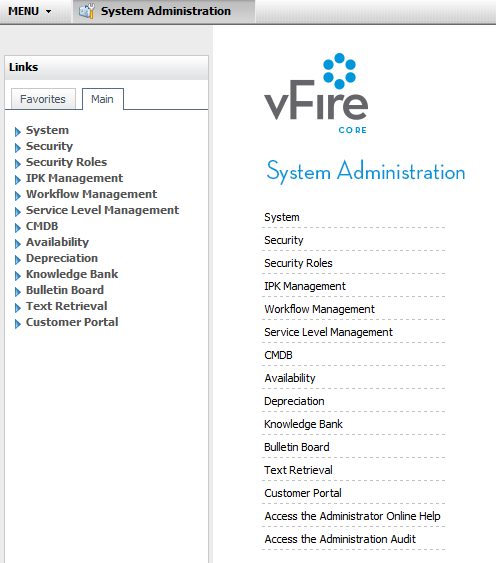
Select the Menu button
 , then Admin, and then select System Administration. The System Administration window is displayed
  . In the Explorer pane, locate the CMDB group
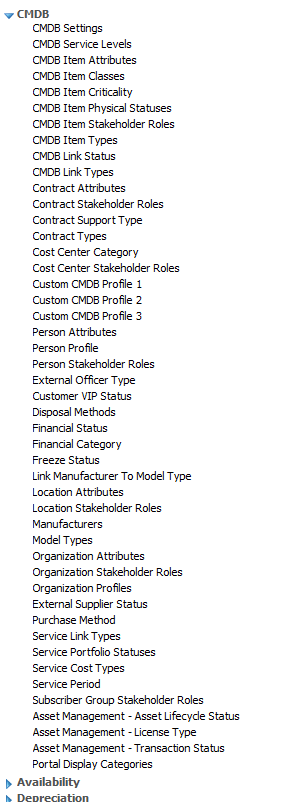
  , scrolling up or down if necessary. You may need to expand the group to see the options within it.
 - Select Self Service Portal Display Categories to open the window.
- Select
 in the topmost tier.
 - Type the name of the category in the Tier 1 field.
- To add lower tiers linked to this tier, first select the tier.
- Select in the table for the next tier, and type the required value.
- You may wish to hide items in lower tiers from view in the Self Service portal. You can do so by selecting the Hide Child checkbox next to the category. This will automatically select all of the items in the lower tier. However, if you only want to hide some of the items, you can deselect those that you want to make visible.
- Select
 to save the changes. Provide the Change Reasons if prompted to do so.
You may want to use this feature if, say, all of the items in lower categories are automatically ordered as part of an item in a higher category, and you do not want them to be selectable on an individual basis.
Renaming a Portal Display Category
Before you start
You must have CMDB Setup enabled within your General Access Security Role in order to configure any CMDB administration settings. Depending on if/how your system is partitioned, ensure that you are in the correct partition.
-
Select the Menu button
, then Admin, and then select System Administration. The System Administration window is displayed . In the Explorer pane, locate the CMDB group , scrolling up or down if necessary. You may need to expand the group to see the options within it. - Select Self Service Portal Display Categories to open the window.
- Select the category entry you want to rename.
- Type the name you want to assign for the selected Portal Display Category.
- Select to save the changes. Provide the Change Reasons if prompted to do so.
If you want to rename an entry in a lower tier, ensure that you have selected the correct entry in the higher tiers to display the entry.
Deleting a Portal Display Category
Before you start
You must have CMDB Setup enabled within your General Access Security Role in order to configure any CMDB administration settings. Depending on if/how your system is partitioned, ensure that you are in the correct partition.
-
Select the Menu button
, then Admin, and then select System Administration. The System Administration window is displayed . In the Explorer pane, locate the CMDB group , scrolling up or down if necessary. You may need to expand the group to see the options within it. - Select Self Service Portal Display Categories to open the window.
- Select the category you want to delete.
- Select
 . You cannot delete the default entry. If you select it, the button is grayed out.
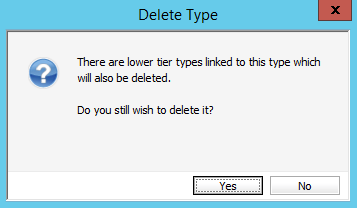
 - If you try to delete a category that has linked categories, the system will display a message that the selected category has linked tiers and the linked tiers will also be deleted
 . Select Yes to delete the selected category and its linked categories or No to close the message without deleting any values.
 - Select to save the changes. Provide the Change Reasons if prompted to do so.