Self Service Portal Roles enable you to assign permissions for registered Users accessing the Self Service Portal. Permissions include access to Incident/ Problem functions, the Service Catalog, Workflow Management, Configuration Items, User Search and Reports.
External contacts do not need to be assigned a portal role.
Adding a Portal Role
Before you start
You must have Self Service Portal Setup enabled within your General Access Security Role in order to configure any Self Service administration settings.
-
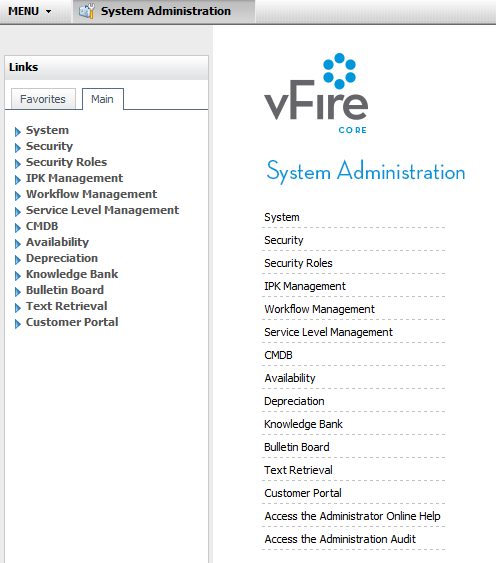
Select Menu
 and then Admin. Select System Administration. The System Administration window is displayed.
  In the Explorer pane, locate the Self Service Portal group, scrolling down if necessary.
  You may need to expand the group to see the options within it.
Select Self Service Portal Roles to open the window.
- A browse table displays all of the existing Self Service Portal roles. Select Show Deleted to display roles which have been created and then deleted. The following entries are supplied as standard:
- Each role has a checkbox in a Default column. Only one role can be selected as the default, and this is used if the Analyst creating the User record does not select a role. (You may like to adjust the column widths to see all of the columns.) The default entries are as follows.
- Select
 to display the details screen.
 - In the Role Name field, key in the name of the role you want to create.
- The role settings are held in a number of tabs. Select from the following to configure the settings for the role.
- Select
 to save the changes. Provide the Change Reasons if prompted to do so.

| All | This role has all Self Service portal role options selected by default. |
| None | This role does not have any Self Service portal role options selected. Assign this role to Users to prevent them from accessing the Self Service portal. |
| Anonymous | This role is only allowed to access the Self Help section on the Self Service portal. |
| Options | to set permissions for which the role has access |
| CMDB | to set access permissions to Services and Configuration Items in the Self Service portal. You can filter this access based on subscriber group or stakeholder role. |
| Reports | to identify reports for which the role has access |
| Content Access | to select the knowledge profiles to which the role has access |
| Workflow Templates | to select the workflow templates to which the role has access |
| Call Templates | to select the call templates to which the role has access |
Renaming a Self Service Portal Role
Before you start
You must have Self Service Portal Setup enabled within your General Access Security Role in order to configure any Self Service administration settings.
-
Select Menu
and then Admin. Select System Administration. The System Administration window is displayed. In the Explorer pane, locate the Self Service Portal group, scrolling down if necessary. You may need to expand the group to see the options within it.Select Self Service Portal Roles to open the window.
- Select the role entry you want to rename.
- Type the name you want to assign for the selected role.
- Select to save the changes. Provide the Change Reasons if prompted to do so.
Updating a Self Service Portal Role
Before you start
You must have Self Service Portal Setup enabled within your General Access Security Role in order to configure any Self Service administration settings.
-
Select Menu
and then Admin. Select System Administration. The System Administration window is displayed. In the Explorer pane, locate the Self Service Portal group, scrolling down if necessary. You may need to expand the group to see the options within it.Select Self Service Portal Roles to open the window.
- Select the role you want to update and then select
 .
. - Update the details as required, selecting the appropriate tab to configure the settings.
- Select
 to save the changes and close the window. Provide the Change Reasons if prompted to do so. Alternatively, select another tab, if appropriate.
Deleting a Self Service Portal Role
Before you start
You must have Self Service Portal Setup enabled within your General Access Security Role in order to configure any Self Service administration settings.
-
Select Menu
and then Admin. Select System Administration. The System Administration window is displayed. In the Explorer pane, locate the Self Service Portal group, scrolling down if necessary. You may need to expand the group to see the options within it.Select Self Service Portal Roles to open the window.
- Select the role entry you want to delete from the list by highlighting it.
- Select
 . You cannot delete a default role. The button is grayed out for these roles.
 - Select to save the changes. Provide the Change Reasons if prompted to do so.
Restoring a Deleted Self Service Portal Role
Before you start
You must have Self Service Portal Setup enabled within your General Access Security Role in order to configure any Self Service administration settings.
-
Select Menu
and then Admin. Select System Administration. The System Administration window is displayed. In the Explorer pane, locate the Self Service Portal group, scrolling down if necessary. You may need to expand the group to see the options within it.Select Self Service Portal Roles to open the window.
- Select Show Deleted to include deleted roles in the list of defined roles.
- Select the role entry you want to restore from the list.
- Select
 .
. - Select to save the changes. Provide the Change Reasons if prompted to do so.