Security Profiles
Security profiles control Analysts’ access to objects, actions and solutions, notes, emails, letters, CMDB items and timesheet entries for different entities in vFire Core, such as calls, requests and tasks. When adding information by one of these means (for example, through a note on a call), Analysts can apply a security profile to the additional information. Only those Analysts who have access to the selected security profile are then able to view the information.
Analysts are allocated access to security profiles through their Person Details. If an Analyst does not have a security profile, they will not have access to the object, action and solution, note, email, letter, CMDB item or timesheet entry to which that profile is applied.
Any system-generated history entries for a call, request or task will use an ‘Unspecified’ security profile. Similarly, any objects added through a call logged via incoming email will also use an ‘Unspecified’ security profile.
Creating Security Profiles
Before you start
You must have System Set Up selected in the Admin tab of your General Access security role.
You must be in the partition in which you want the profiles to be held.
Security profiles must be enabled.
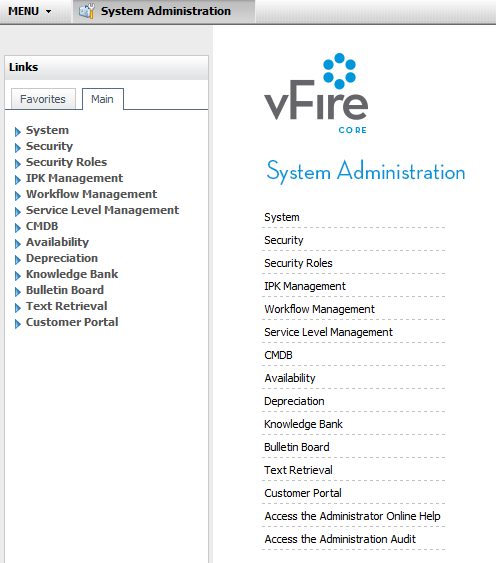
- Select the Menu button
 , then Admin, and then select System Administration. The System Administration window is displayed
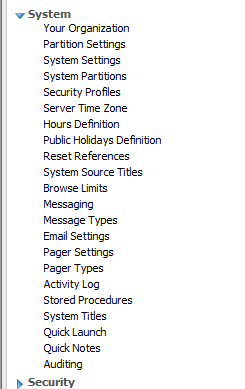
  . In the Explorer pane, locate the System group
  , scrolling up or down if necessary. You may need to expand the group to see the options within it.
 - Select the Security Profiles option from the Explorer pane. The Security Profiles window appears, listing all the security profiles created for the current partition.
- Select
 . A blank row is added to the browse table.
 - In the Name field, type a name for the profile you want to create.
- You can change the order of the listing by using
 and
and  . The order set is used for display only.
 - Select
 to save the changes. Provide the Change Reasons if prompted to do so.
You must then assign the security profile to the person record of the individual(s) you want to have access to it. Analysts can only assign security profiles to call request and task details if they have access to that security profile themselves.
Renaming a Security Profile
You can rename a security profile if necessary. The new name is reflected throughout the system. Analysts with the existing security profile have their details automatically updated with the new name.
Before you start
You must have System Set Up selected in the Admin tab of your General Access security role.
You must be in the partition in which the profiles is held.
- Select the Menu button , then Admin, and then select System Administration. The System Administration window is displayed . In the Explorer pane, locate the System group , scrolling up or down if necessary. You may need to expand the group to see the options within it.
- Select the Security Profiles option from the Explorer pane. The Security Profiles window appears, listing all the security profiles created for the current partition.
- Select the profile you want to rename, and type the new name over the existing.
- Select to save the changes. Provide the Change Reasons if prompted to do so.
Deleting a security profile
Before you start
You must have System Set Up selected in the Admin tab of your General Access security role.
You must be in the partition in which the profiles is held.
You cannot restore a security profile. You have to recreate it if you delete it in error. If an Analyst has the security profile, it shows as a deleted entry in their Personal Details and any associated access privileges are removed.
- Select the Menu button , then Admin, and then select System Administration. The System Administration window is displayed . In the Explorer pane, locate the System group , scrolling up or down if necessary. You may need to expand the group to see the options within it.
- Select the Security Profiles option from the Explorer pane. The Security Profiles window appears, listing all the security profiles created for the current partition.
- Select the security profile you want to delete by clicking in the appropriate row.
- Select
 . The selected security profile disappears from the window. However, you must select Save to save the deletion.
 - Select to save the changes. Provide the Change Reasons if prompted to do so.