System Titles
You can tailor the column titles in vFire Core browse tables to suit your requirements. This would normally only be done once, when the system is first set up.
This will not change the field titles. You can only change field titles using Designer.
Changing Field Names
Before you start
You must have System Set Up selected in the Admin tab of your General Access security role.
-
Select the Menu button
 , then Admin, and then select System Administration. The System Administration window is displayed
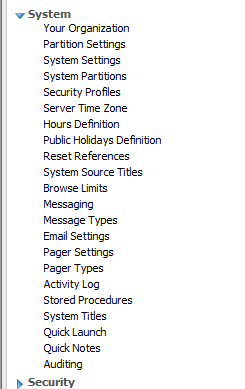
  . In the Explorer pane, locate the System group
  , scrolling up or down if necessary. You may need to expand the group to see the options within it.
 - Select the System Titles option. The System Titles window appears, displaying a table of existing fields.
- At Show Titles by, use the drop down list to select an area of the system to display the corresponding fields for which you can configure the titles.
- Select the name you wish to change and overtype with the new name.
- Select
 to save the changes. Provide the Change Reasons if prompted to do so.
| Title | The internal names of fields throughout vFire Core. You cannot change these on this window. |
| Name | The name that actually appears on windows in vFire Core |
Any system titles you change will be updated in parts of the application such as search results browse tables, but will not be reflected in field labels on Details windows. For example, changing the CMDB Item Title system title will be updated in browse tables and so on, but will still display as the Title field on the CMDB Item Details window. Analysts with the appropriate security role access can edit the labels of fields on screen, or set the display name of fields in the Designer.
Changing Error Messages
You can change the value of certain error messages and warnings used by the application.
Before you start
You must have System Set Up selected in the Admin tab of your General Access security role.
-
Select the Menu button
, then Admin, and then select System Administration. The System Administration window is displayed . In the Explorer pane, locate the System group , scrolling up or down if necessary. You may need to expand the group to see the options within it. - Select the System Titles option. The System Titles window appears, displaying a table of existing fields.
- At Show Titles by, use the drop down list to select Resource.
- Identify the error message you wish to change, scrolling down if necessary.
- Select the Name of the error message and overtype with the message you wish displayed.
- Select to save the changes. Provide the Change Reasons if prompted to do so.
Changing the CMDB Entity Prefix
You can change the default prefix assigned to CMDB items. For example, the default prefix for configuration items is PAR. If required, you can set this according to your requirement.
Before you start
You must have System Set Up selected in the Admin tab of your General Access security role.
-
Select the Menu button
, then Admin, and then select System Administration. The System Administration window is displayed . In the Explorer pane, locate the System group , scrolling up or down if necessary. You may need to expand the group to see the options within it. - Select the System Titles option. The System Titles window appears, displaying a table of existing fields.
- At Show Titles by, use the drop down list to select CMDB Item.
- From the field titles displayed, locate the title CMDB Item Prefix.
- Select the Name column, and overtype the existing prefix with the preferred one.
- Select to save the changes. Provide the Change Reasons if prompted to do so.