Custom Profiles
Custom Profiles are largely superseded by the enhanced functionality of the Designer in vFire Core.
Custom Profiles are custom drop-down fields on the Details windows that you can define to allow Analysts to add additional organization-specific information. They are hidden by default but can be made visible using the Designer.
You can define Request Custom Profiles and Task Custom Profiles in Workflow Management. These windows enable you to define the values that are available in each drop-down list.
Adding Values to a Custom Profile
Before you start
You must have Workflow Management Set Up enabled within your General Access Security Role to work with custom profiles.
As some parameters are read from the database at application start-up, you should always make changes to settings when there are no Analysts logged on to the system.
- Select the Menu button
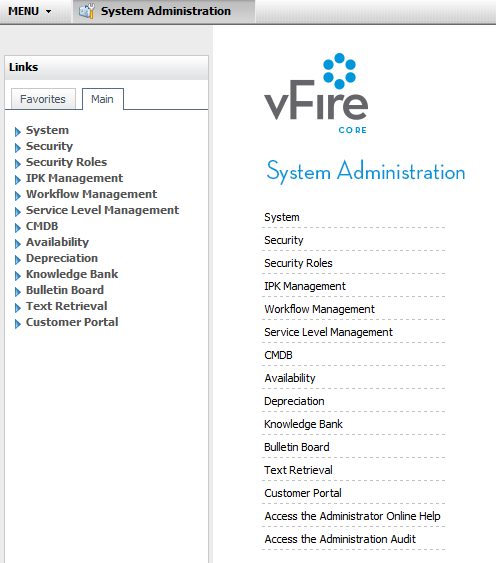
 , then Admin, and then select System Administration. The System Administration window is displayed, with a menu of options available
  . In the Explorer pane, expand the Workflow Management group of options, scrolling down if necessary
  .
. - Select the appropriate Custom Profile option - Request Custom Profile 1, 2, 3, or 4; or Task Custom Profile 1, 2, 3 or 4
 . The corresponding window appears, in which you can define the items that will appear in each custom profile list.


Custom Profile fields may have been given a new label when added to a window through the Designer.
- Select
 . A row is inserted in the browse table.
 - Click in the row, and key in the value you want to define for the profile.
- Select
 to save the changes. Provide the Change Reasons if prompted to do so.
Renaming a Value in a Custom Profile
Before you start
You must have Workflow Management Set Up enabled within your General Access Security Role to work with custom profiles.
As some parameters are read from the database at application start-up, you should always make changes to settings when there are no Analysts logged on to the system.
- Select the Menu button , then Admin, and then select System Administration. The System Administration window is displayed, with a menu of options available . In the Explorer pane, expand the Workflow Management group of options, scrolling down if necessary .
- Select the appropriate Custom Profile option - Request Custom Profile 1, 2, 3, or 4; or Task Custom Profile 1, 2, 3 or 4 . The corresponding window appears, in which you can define the items that will appear in each custom profile list.
- Select the value you want to rename and overtype with the new name.
- Select to save the changes. Provide the Change Reasons if prompted to do so.
Custom Profile fields may have been given a new label when added to a window through the Designer.
Deleting a Value from a Custom Profile
Before you start
You must have Workflow Management Set Up enabled within your General Access Security Role to work with custom profiles.
You cannot delete the Unspecified value or restore deleted values. You must recreate them if necessary.
As some parameters are read from the database at application start-up, you should always make changes to settings when there are no Analysts logged on to the system.
- Select the Menu button , then Admin, and then select System Administration. The System Administration window is displayed, with a menu of options available . In the Explorer pane, expand the Workflow Management group of options, scrolling down if necessary .
- Select the appropriate Custom Profile option - Request Custom Profile 1, 2, 3, or 4; or Task Custom Profile 1, 2, 3 or 4 . The corresponding window appears, in which you can define the items that will appear in each custom profile list.
- Highlight the value in the browse table. Select
 . If you attempt to delete the system default, you will receive a warning message.
 - Select to save the changes. Provide the Change Reasons if prompted to do so.
Custom Profile fields may have been given a new label when added to a window through the Designer.