Task Priority
Task priorities can be selected from the Priority list on the Task Details window to indicate how urgent the task is.
Creating a Task Priority
Before you start
If your system is partitioned, ensure that you are working in the appropriate partition.
You must have Workflow Management Set Up enabled within your General Access Security Role to work with task priorities.
- Select the Menu button
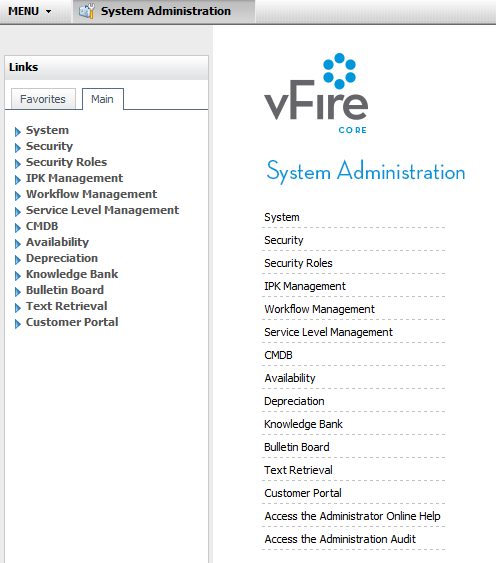
 , then Admin, and then select System Administration. The System Administration window is displayed, with a menu of options available
  . In the Explorer pane, expand the Workflow Management group of options, scrolling down if necessary
  .
. - Select the Task Priority option. The Task Priority window appears, with a browse table listing all of the existing priorities, along with the default settings
 .
. - Select
 . A blank row is inserted in the browse table.
 - Key a name for the priority into the Name field.
- If you want to set a priority as the default, select the checkbox in the Default column. The selected priority will be set by default on the Task Details window.


A default must be selected. The system-defined task priority (Unspecified) is set as the default if you don’t set any other value as the default.
- Select
 to save the changes. Provide the Change Reasons if prompted to do so.
Updating Task Priorities
You can change the order in which the priorities are displayed. Changing the order here will display the priorities in the same order on the Task Details window. You can also select an alternative default, which will be used on the Task Details window unless another priority is selected.
Before you start
If your system is partitioned, ensure that you are working in the appropriate partition.
You must have Workflow Management Set Up enabled within your General Access Security Role to work with task priorities.
- Select the Menu button , then Admin, and then select System Administration. The System Administration window is displayed, with a menu of options available . In the Explorer pane, expand the Workflow Management group of options, scrolling down if necessary .
- Select the Task Priority option. The Task Priority window appears, with a browse table listing all of the existing priorities, along with the default settings .
- Use the
 and
and  buttons to change the order of the priorities. The highest priority should be at the top of the table, followed by the second highest, and so on.
 - Change the default, if necessary, by checking the appropriate box in the Default column.
- Select to save the changes. Provide the Change Reasons if prompted to do so.
Deleting a Task Priority
Before you start
If your system is partitioned, ensure that you are working in the appropriate partition.
You cannot delete the Default priority.
You must have Workflow Management Set Up enabled within your General Access Security Role to work with task priorities.
You cannot restore a deleted priority; you will have to re-create it if needed.
- Select the Menu button , then Admin, and then select System Administration. The System Administration window is displayed, with a menu of options available . In the Explorer pane, expand the Workflow Management group of options, scrolling down if necessary .
- Select the Task Priority option. The Task Priority window appears, with a browse table listing all of the existing priorities, along with the default settings .
- Select the priority you want to delete. Select
 . If you attempt to delete the system default, you will receive a warning message.
 - Select to save the changes. Provide the Change Reasons if prompted to do so.