Workflow Attributes
You can define categories of information related to an approval, request or task which are not recorded in the main details window.
For example, if you create an ‘Approval Date’ attribute, Analysts can add the date on which the approval was rejected or approved. Analysts can then access and record information in these categories from the relevant Details window by selecting the Attributes explorer option, which is enabled when attributes are available.
When you create an attribute, the related table is updated with the Attribute field. When an Analyst adds values for an attribute, the tables are updated with the attribute values.
Creating an Attribute
Before you start
You must have Workflow Management Set Up enabled within your General Access Security Role to configure workflow attributes.
As some parameters are read from the database at application start-up, you should always make changes to settings when there are no Analysts logged on to the system.
- Select the Menu button
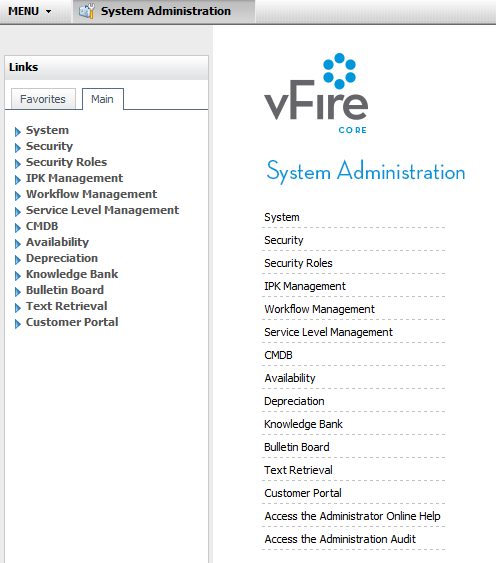
 , then Admin, and then select System Administration. The System Administration window is displayed, with a menu of options available
  . In the Explorer pane, expand the Workflow Management group of options, scrolling down if necessary
  .
. - Select the appropriate Attributes option - Approval Attributes, Request Attributes or Task Attributes

- The relevant Attributes window appears, displaying three tiers in which you can define attributes.
- Select
 for the relevant tier. A new field is added to the list.
 - Key in the attribute name.
- Define additional tiers by highlighting the first tier and then selecting in the lower tiers, and keying in a name for the lower tier.
- Repeat for each tier added.
- Select
 to save the changes. Provide the Change Reasons if prompted to do so.


Renaming an Attribute
Before you start
You must have Workflow Management Set Up enabled within your General Access Security Role to configure workflow attributes.
As some parameters are read from the database at application start-up, you should always make changes to settings when there are no Analysts logged on to the system.
-
Select the Menu button
, then Admin, and then select System Administration. The System Administration window is displayed, with a menu of options available . In the Explorer pane, expand the Workflow Management group of options, scrolling down if necessary . - Select the appropriate Attributes option - Approval Attributes, Request Attributes or Task Attributes .
- The relevant Attributes window appears, displaying three tiers in which you can define attributes.
- Select the attribute you want to rename. If you want to rename an attribute held in Tier 3, select the Tier 2 entry to which it is linked to display it.
- Overtype with the name you want to assign.
- Select to save the changes. Provide the Change Reasons if prompted to do so.
Deleting an Attribute
Before you start
You must have Workflow Management Set Up enabled within your General Access Security Role to configure workflow attributes.
As some parameters are read from the database at application start-up, you should always make changes to settings when there are no Analysts logged on to the system.
If you delete an existing attribute, any details already defined for that category by the Analyst will be retained. However, they will not be able to define any more. If you delete an attribute, you cannot restore it and will have to manually add it again.
- Select the Menu button , then Admin, and then select System Administration. The System Administration window is displayed, with a menu of options available . In the Explorer pane, expand the Workflow Management group of options, scrolling down if necessary .
- Select the appropriate Attributes option - Approval Attributes, Request Attributes or Task Attributes.
- The relevant Attributes window appears.
- Select the attribute you want to delete and then select
 . To display attributes in Tiers 2 or 3, you must select the relevant attribute in Tier 1.
 - Select to save the changes. Provide the Change Reasons if prompted to do so.