Workflow Processes
vFire Core provides access to a number of ITIL-compliant workflow processes including Change Management, Release & Deployment Management, and Availability Management.
You can create workflow templates, requests, and tasks for the workflow processes that are enabled on your vFire Core system.
Creating a Workflow Process
Before you start
You must have Workflow Management Set Up enabled within your General Access Security Role to work with workflow processes.
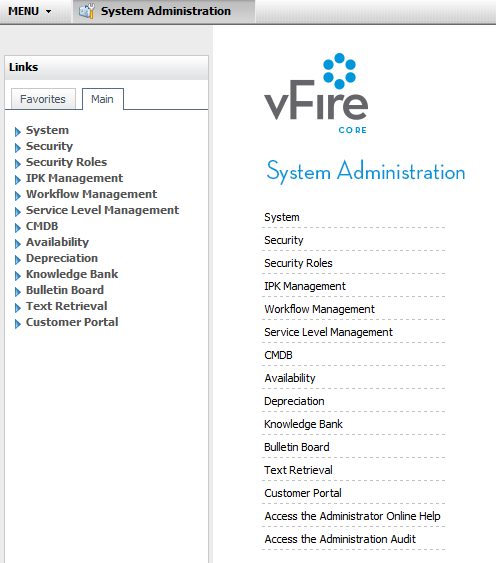
- Select the Menu button
 , then Admin, and then select System Administration. The System Administration window is displayed, with a menu of options available
  . In the Explorer pane, expand the Workflow Management group of options, scrolling down if necessary
  .
. - Select the Workflow Processes option. The Workflow Processes window appears, with a browse table listing the existing processes
 . (You may like to adjust the column widths to see all of the columns.)
 - Select
 . A blank row is inserted in the browse table.
 - Complete the details:
- Select
 to save the changes. Provide the Change Reasons if prompted to do so.


| Name | Key in the name for the process. Although it is possible to specify several workflow processes with the same name and color, this is not recommended as they will be difficult to identify when you are selecting from a list elsewhere in the application. |
| Enabled | Select to enable the workflow process. Disabled workflow processes are not selectable elsewhere in the application. |
| Abbr | An abbreviation to be used to display linked requests in the Request Linking diagram. |
| Color | A color to identify the workflow process linked to a request on the Info Panel of the Request Details window and in the Request Linking windows. Click in the box and use the drop-down list to select the color you want. |
Enabling a Workflow Process
Before you start
You must have Workflow Management Set Up enabled within your General Access Security Role to work with workflow processes.
- Select the Menu button , then Admin, and then select System Administration. The System Administration window is displayed, with a menu of options available . In the Explorer pane, expand the Workflow Management group of options, scrolling down if necessary .
- Select the Workflow Processes option. The Workflow Processes window appears, with a browse table listing the existing processes . (You may like to adjust the column widths to see all of the columns.)
- Identify the workflow process you want to enable and select the checkbox in the Enabled column.
- Select to save the changes. Provide the Change Reasons if prompted to do so.
Updating a Workflow Process
Before you start
You must have Workflow Management Set Up enabled within your General Access Security Role to work with workflow processes.
- Select the Menu button , then Admin, and then select System Administration. The System Administration window is displayed, with a menu of options available . In the Explorer pane, expand the Workflow Management group of options, scrolling down if necessary .
- Select the Workflow Processes option. The Workflow Processes window appears, with a browse table listing the existing processes . (You may like to adjust the column widths to see all of the columns.)
- Select the workflow process you want to update. Make the necessary changes.
- Select to save the changes. Provide the Change Reasons if prompted to do so.
Changing the Display Order of Workflow Processes
The order in which the workflow processes are listed on this window is the order in which they will be displayed for selection throughout vFire Core.
Before you start
You must have Workflow Management Set Up enabled within your General Access Security Role to work with workflow processes.
- Select the Menu button , then Admin, and then select System Administration. The System Administration window is displayed, with a menu of options available . In the Explorer pane, expand the Workflow Management group of options, scrolling down if necessary .
- Select the Workflow Processes option. The Workflow Processes window appears, with a browse table listing the existing processes . (You may like to adjust the column widths to see all of the columns.)
- Use
 and
and  to change the order of the processes.
 - Select to save the changes. Provide the Change Reasons if prompted to do so.
Deleting a Workflow Process
You cannot delete a workflow process. Instead, you disable it.
Before you start
You must have Workflow Management Set Up enabled within your General Access Security Role to work with workflow processes.
- Select the Menu button , then Admin, and then select System Administration. The System Administration window is displayed, with a menu of options available . In the Explorer pane, expand the Workflow Management group of options, scrolling down if necessary .
- Select the Workflow Processes option. The Workflow Processes window appears, with a browse table listing the existing processes . (You may like to adjust the column widths to see all of the columns.)
- Identify the workflow process you want to disable and deselect the checkbox in the Enabled column.
- Select to save the changes. Provide the Change Reasons if prompted to do so.